Lemon & Olives
A calmer, warmer home for Greek recipes and stories.
A growing archive of Greek cooking, travel, and culture shaped into a more editorial front page. Easy to browse, image-led, and much more intentional.
Right Now
One featured recipe, plus the posts worth opening next.
This is a work-in-progress.
Recipes
Greek staples, meze, mains, and dishes built for gathering.
Simple browsing, image-led cards, and recipe pages that feel much more useful.

Greek God Inspired
A Divine Feast: Cooking With Aphrodite - Seafood Pasta And Fig & Honey Toast
Embarking on a culinary journey inspired by the myths and legends of the ancient world offers a unique opportunity to...

Greek Appetizer
Caramelized Onions And Feta Phyllo Cups
Caramelized onions are one of my favorite things to make. They just add such a delicious flavor to dishes. Combine them...

Greek Appetizer
Kreatopetes | Greek Meat Triangles
You can think of kreatopetes as small personalized kreatopitas wrapped in delicious buttery flakey phyllo (filo). Yes,...
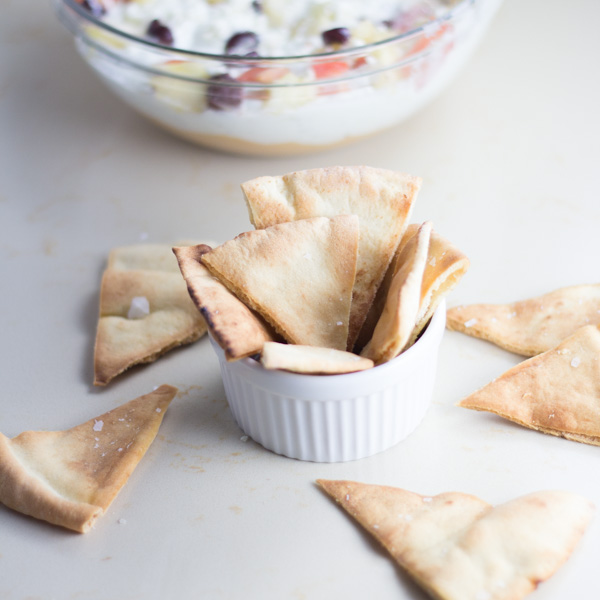
Greek Appetizer
Homemade Pita Chips
Homemade Pita chips are a healthy and delicious snack. See our pita chip recipe below. If you’re looking to make pita...
Culture & Travel
The places, customs, and stories around the food.
More breathing room, larger imagery, and less homepage clutter.
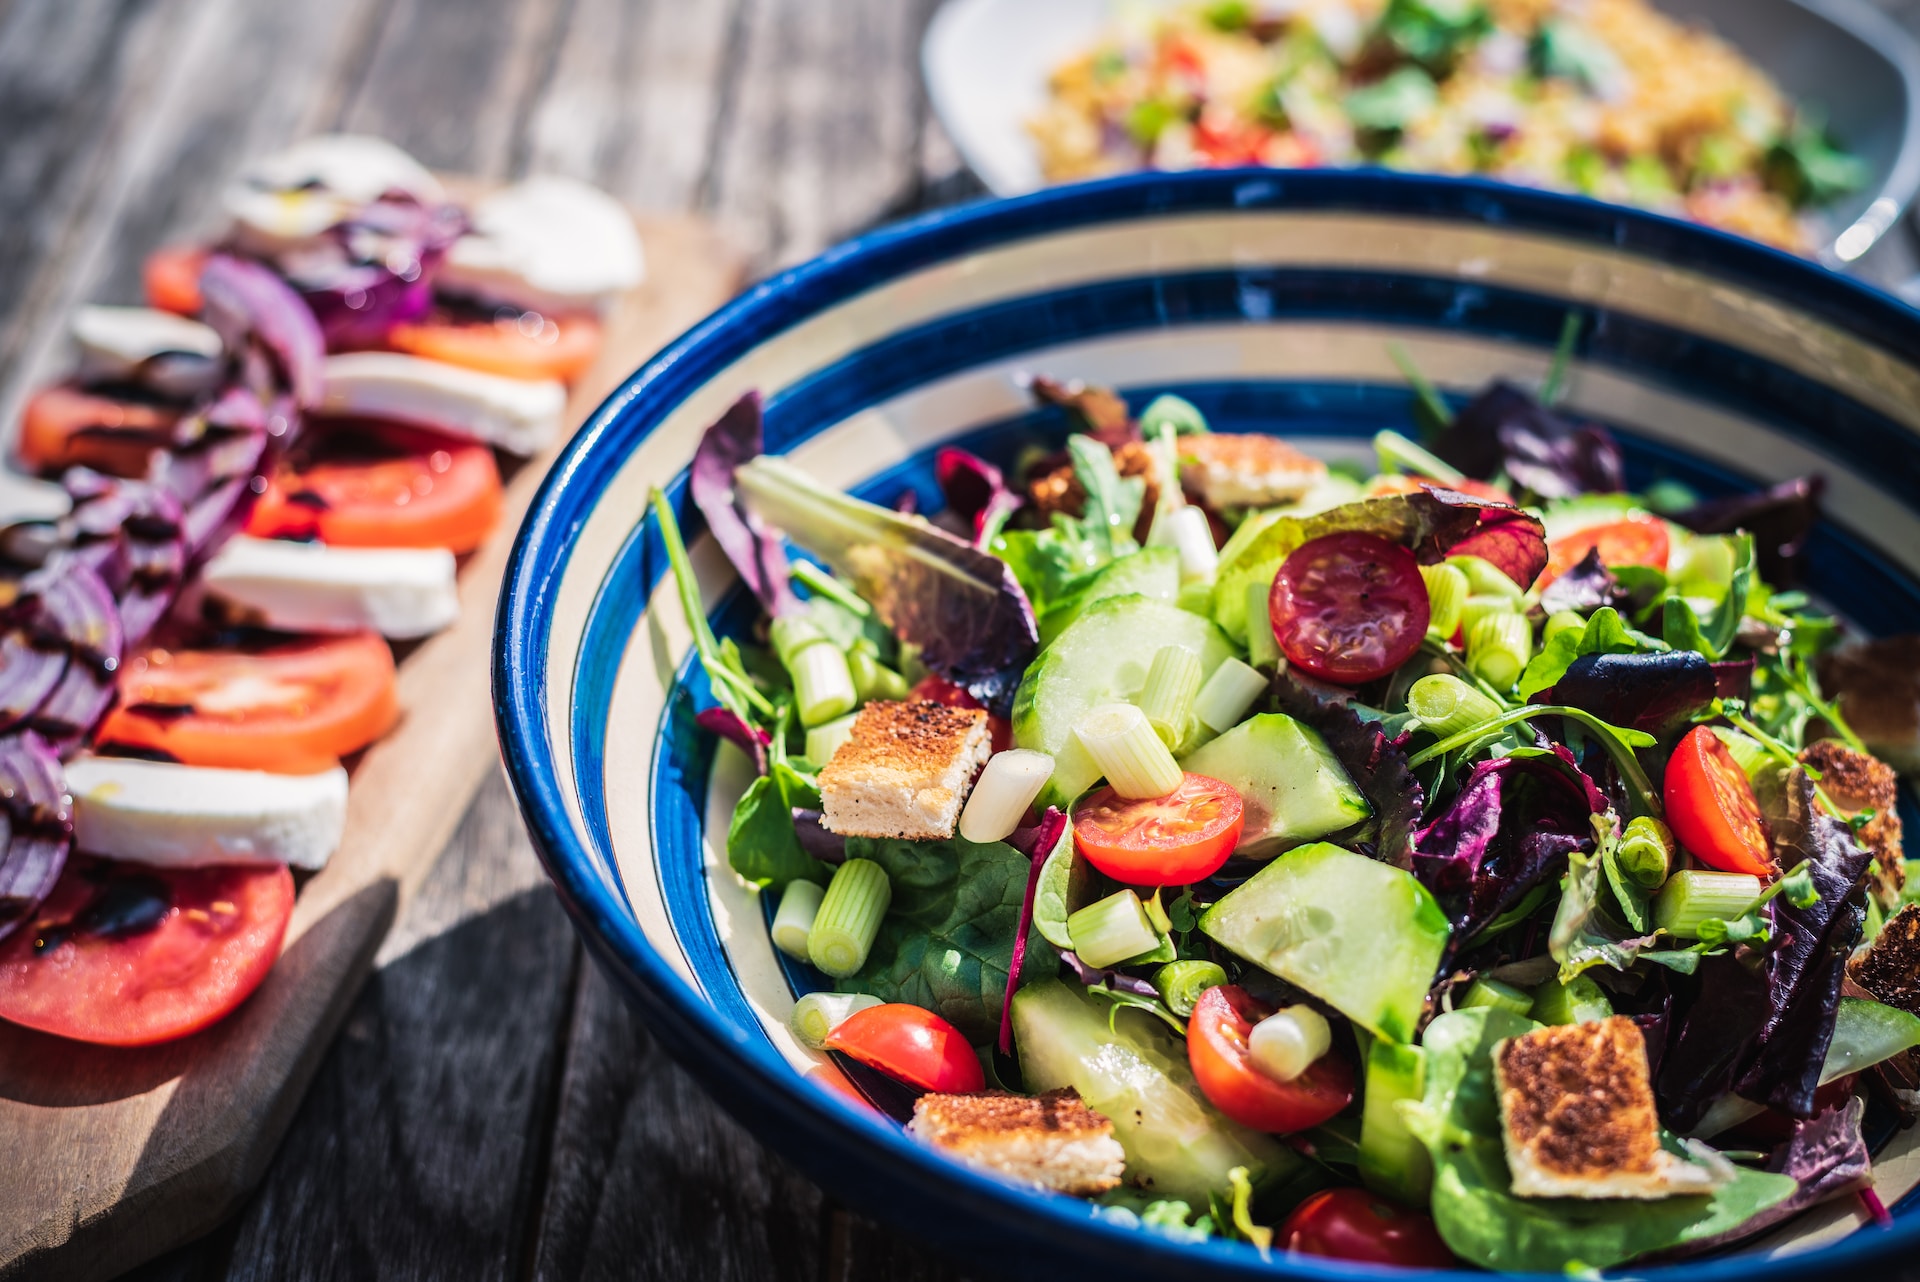
Blog
The Mediterranean Diet: A Heart-Healthy Journey Through Flavors
The Mediterranean diet, originating from the regions around the Mediterranean Sea, has long been revered in the wellness community....

Greek Culture
Aphrodite | Greek Goddess Of Love and Beauty
Who Was Aphrodite? Aphrodite (Αφροδιτη) was the Greek goddess of love, beauty, pleasure, and procreation. Known to the Romans as...

Travel Greece
Visiting Kalamata Greece
< [toc] Visiting Kalamata Visiting Kalamáta (Καλαμάτα), located in the Messenia region of Greece, is the second most populated city in...
Archive
The latest from the full library.
Still easy to scan, but now much cleaner and less overwhelming.
Greek God Inspired
A Divine Feast: Cooking With Aphrodite - Seafood Pasta And Fig & Honey Toast
Blog
The Mediterranean Diet: A Heart-Healthy Journey Through Flavors
Greek Appetizer
Caramelized Onions And Feta Phyllo Cups
Greek Appetizer
Kreatopetes | Greek Meat Triangles
Greek Appetizer
Homemade Pita Chips
Greek Fish Recipes
Mediterranean Shrimp Stir Fry
Greek Chicken Recipes
Greek Chicken Gyro
Cooking Videos
Greek Fisherman's Soup
Mediterranean Recipes
Sautéed Asparagus With Spinach
Greek Bread Recipes
Greek Sesame Bread Rings
Greek Appetizer
Greek Yogurt Spinach Artichoke Dip
Cooking Videos